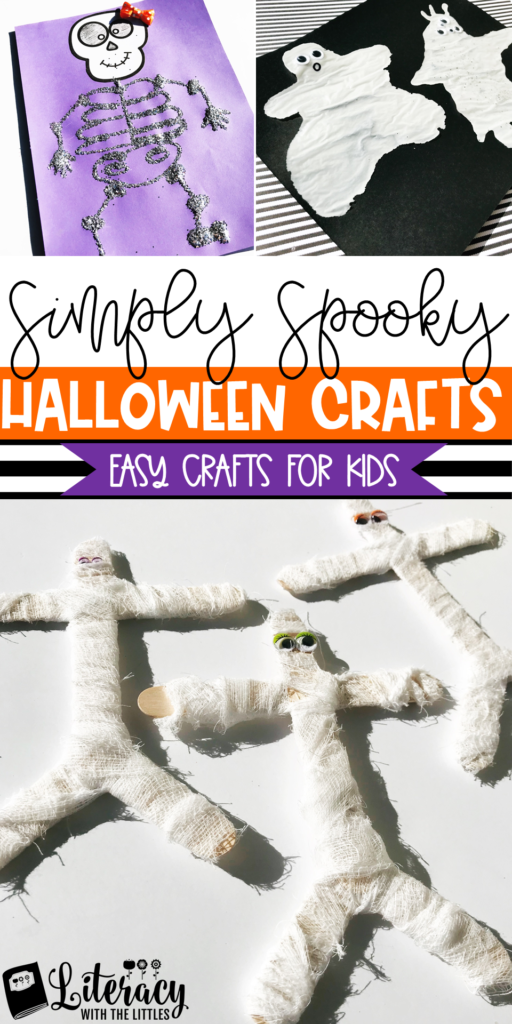
Are you looking for easy crafts to celebrate Halloween? These simple and spooky crafts are sure to be a hit with all little boys and ghouls.
This post contains affiliate links. If you purchase using these links I will receive a small commission at no additional cost to you.
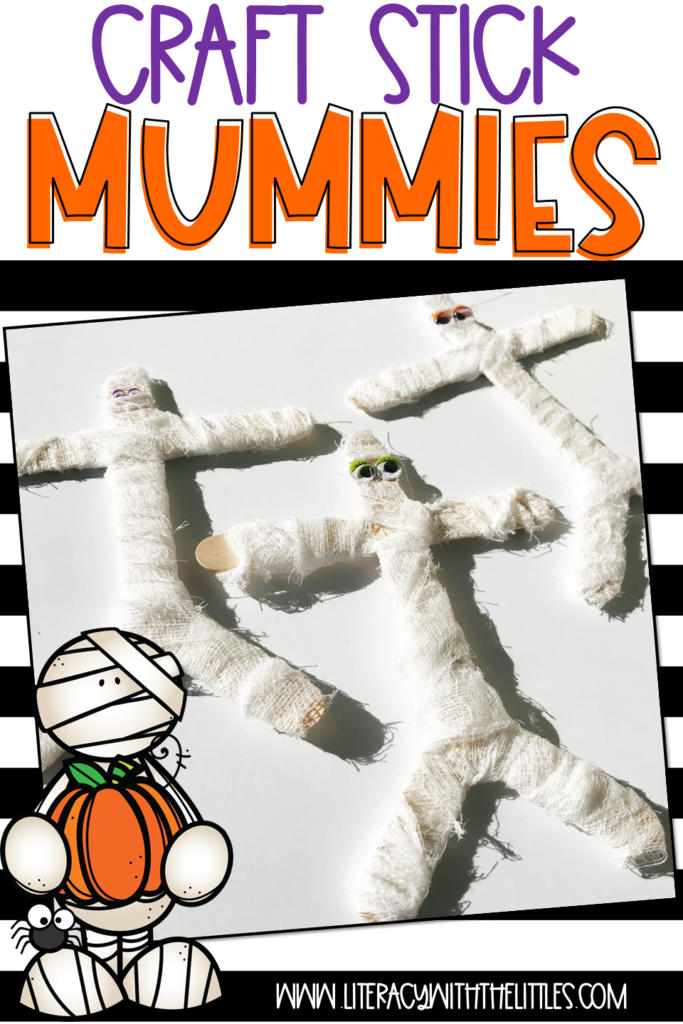
Craft Stick Mummies
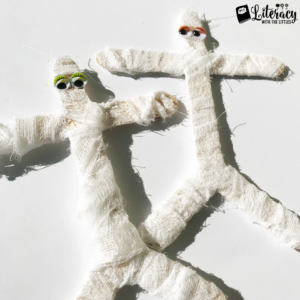
This little craft is perfect to work on fine motor skills. Little ones get to wrap up their mummies and then they have their own little toy when they are finished. My kids have loved playing with their mummies.
What you need:
Cheese Cloth (cut into half inch strips)
Hot Glue

Instructions:
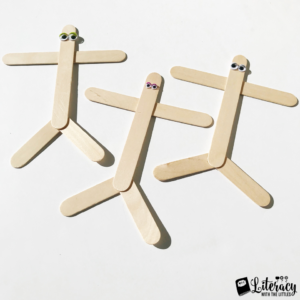
You will need 3 craft sticks per mummy. Cut one of the sticks in half. Then use your hot glue gun to glue one whole stick across the body to make the arms. Then glue the two half sticks onto the bottom to form the legs. Next, glue your googly eyes in place. Then secure the end of your strip of cheese cloth with a dot of hot glue. This will make it easier for little ones to wrap their mummy. Then let the wrapping begin. Secure the end with another dab of glue when finished.

Glue Ghosts
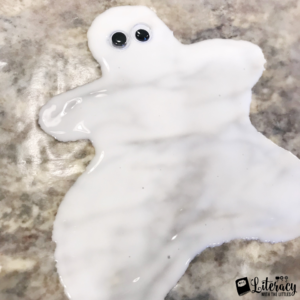
These spooky ghosts only need a couple of supplies that you probably already have at home. I love that these ghosts can be any shape that your little ones imagine.
What you will need:
Wax Paper
Instructions:
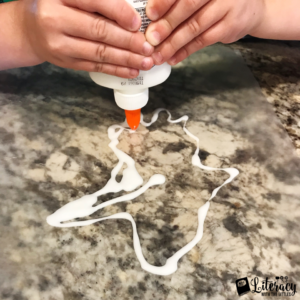
Make the outline of your ghost on wax paper with glue. Then fill in the center with glue. Don’t leave any holes. You can use your finger to spread the glue. (The kids enjoy getting a little messy.) Then add your googly eyes and let it dry overnight. After it is dry you can add a mouth with a Sharpie. Once it is completely dry you can peel it off of the wax paper and you have a slightly translucent ghost.

Sparkle Skeletons
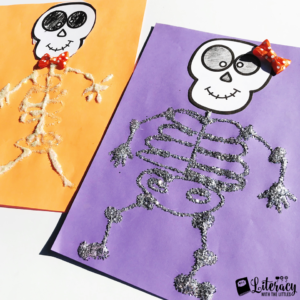
These little skeletons can be made with glitter, sand, or even salt. Just depends on what texture you want to add to the top. We chose to make ours with glitter, because glitter makes everything better… right?!
What you will need:
Glitter
Paper
{Optional: Ribbon for bow or bow tie}
Skeleton head printable (Click the link below for your free download)
Instructions:
Print, color, and cut out the skeleton head. Glue it onto the top of your paper. Then with glue, draw the skeleton. Then pour glitter over the top. Carefully dump off the extra glitter, then allow your skeleton to dry. Once dry, you can use your ribbon to create a bow or bow tie. I recommend attaching with hot glue so that it stays secure. The variety of how different these skeletons turn out makes them even more adorable to display.
Painted Pumpkins
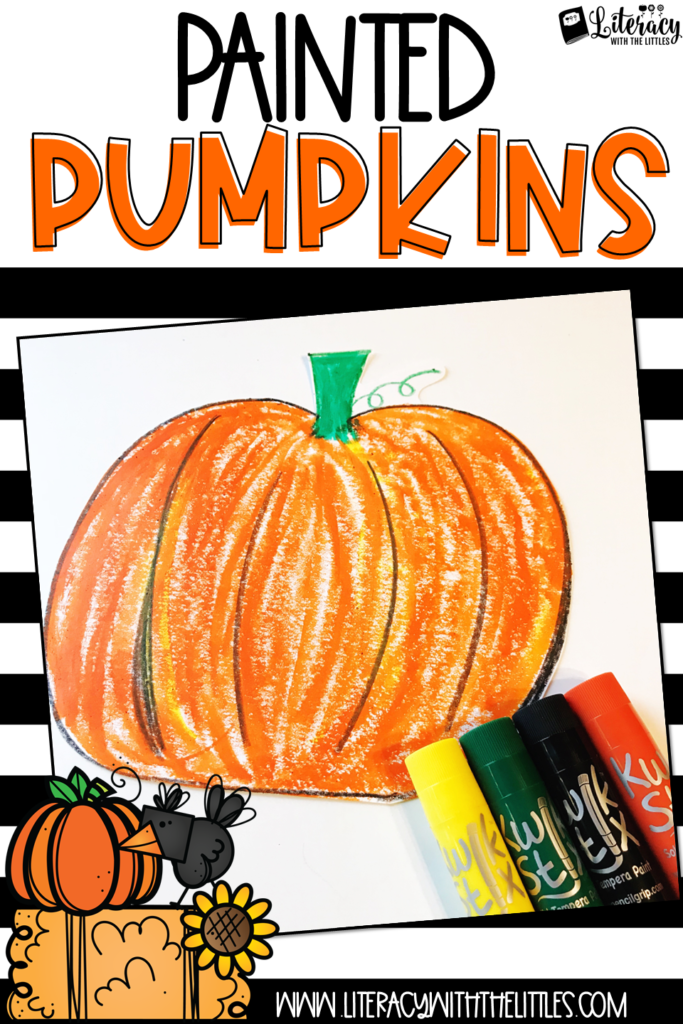
Need a quick and festive art project? These painted pumpkins are bold and vibrant and just scream fall! We used Kwik Stix to paint ours and it made set up and clean up a breeze.
What you will need:
Kwik Stix Paint
White paper or card stock
Crayons
Instructions:
Take a black crayon to draw the outline of the pumpkin and add any lines (as bumps) to your pumpkin. Then use a green crayon to draw the outline of your stem and any twirly vines. Please make sure to remind your kids that pumpkins come in all shapes and sizes and they don’t need to look the exact same. {Teachers: If you are using these on a bulletin board, the variety of shapes and sizes makes them even cuter!} Once the outlines have been drawn I let them paint. We chose Kwik Stix for this project for a few reasons. First of all, I love the vibrant colors of tempura paint. Secondly, I love the darling texture they add to the finished pumpkins. Last, but maybe my favorite reason of all… is that we get to paint WITHOUT THE MESS! Seriously, game changer for me.
You can paint your pumpkins with any paint you desire, but if you want to test out Kwik Stix for yourself please use the code THELITTLES10 at checkout to save 10% off of your entire purchase. Feel free to use that code as many times as you want. You can order them at www.thepencilgrip.com.
Looking for more Halloween fun?
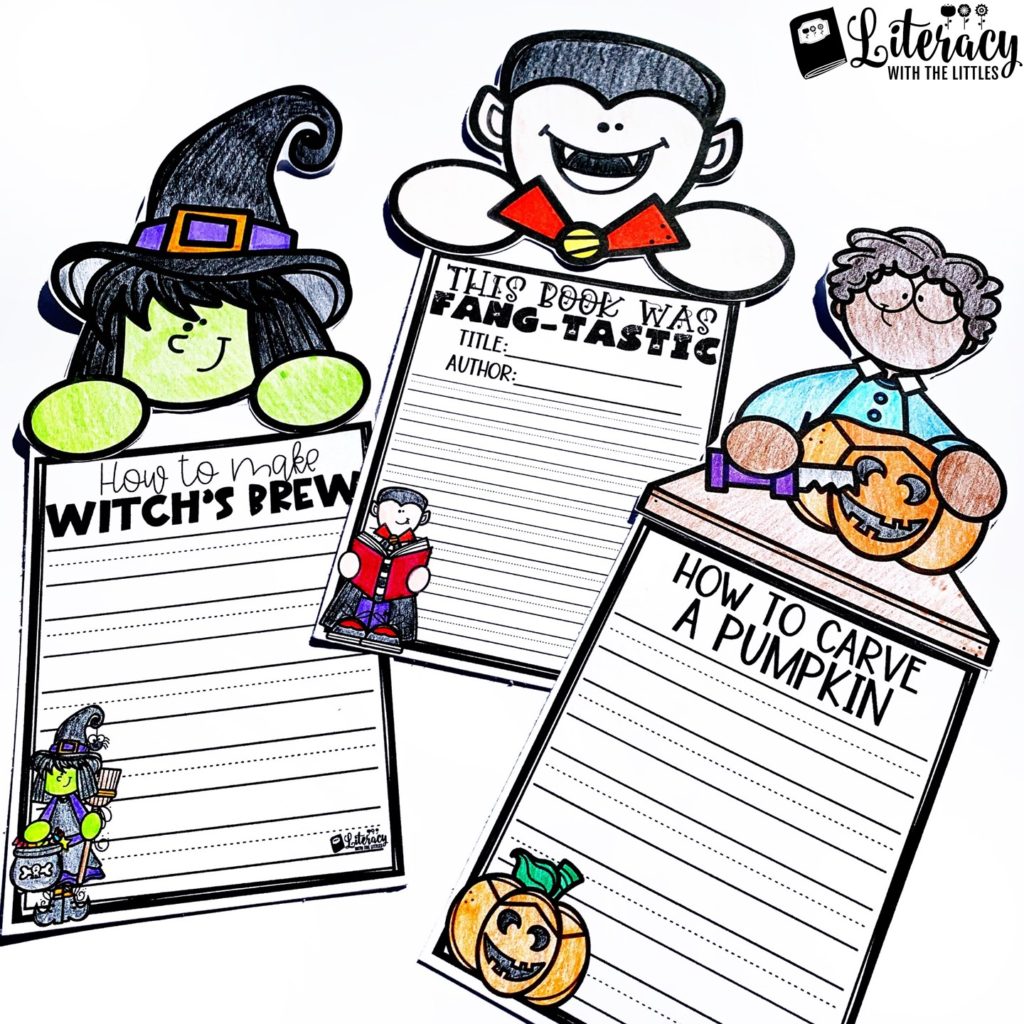
Check out these awesome Fall Craftivities! This set comes with so many seasonal writing prompts that your little writers will love. They are perfect for showing off their wonderful writing on bulletin boards and in hallways. This set comes with more than 30 writing prompts, so that you will have plenty of topics to meet the interests of your little writers.
Click the pictures to see more.
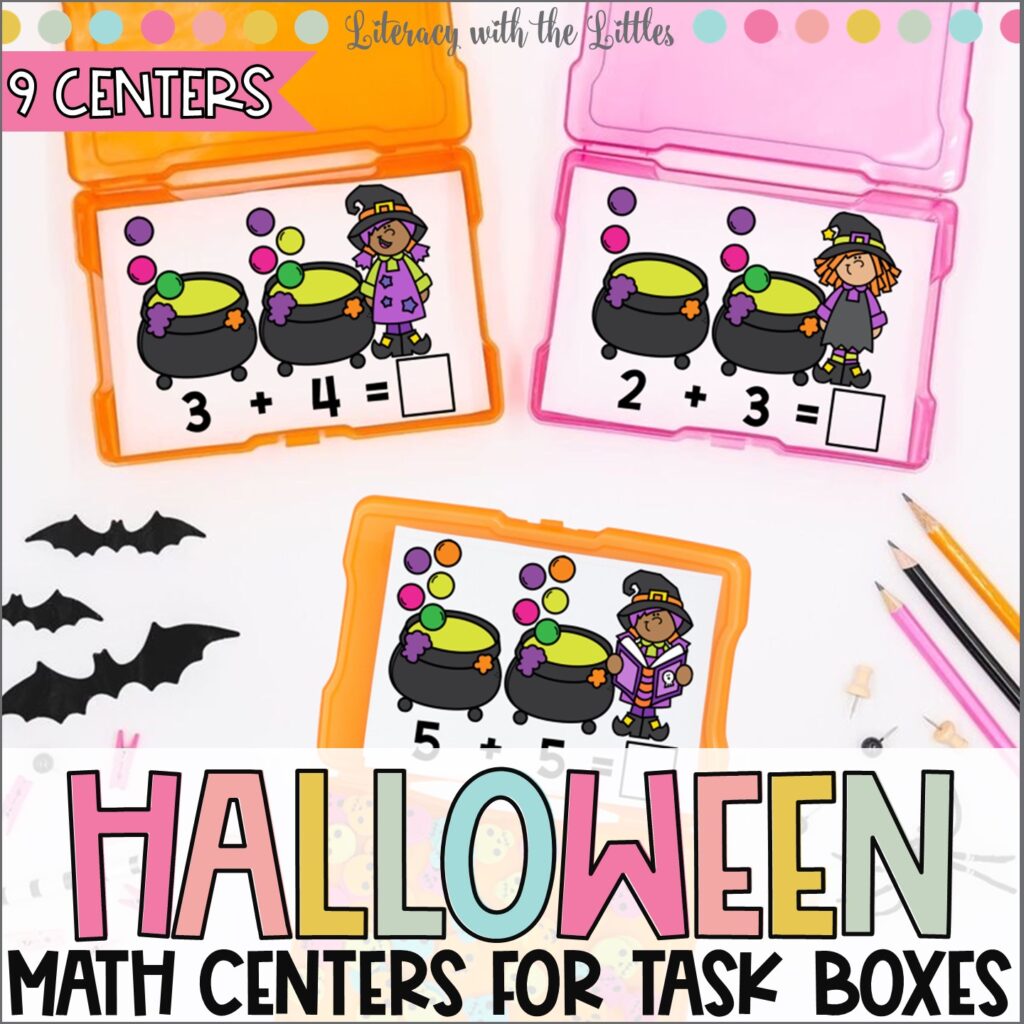
You may also love these Halloween Math Centers.
These hands on math centers are easily stored in photo storage boxes to make the quickest grab and go centers.
Check out the video below to see a sneak peek of them in action.
You can snag yours by clicking the image below.
Fantastic Fall Freebies Just for You
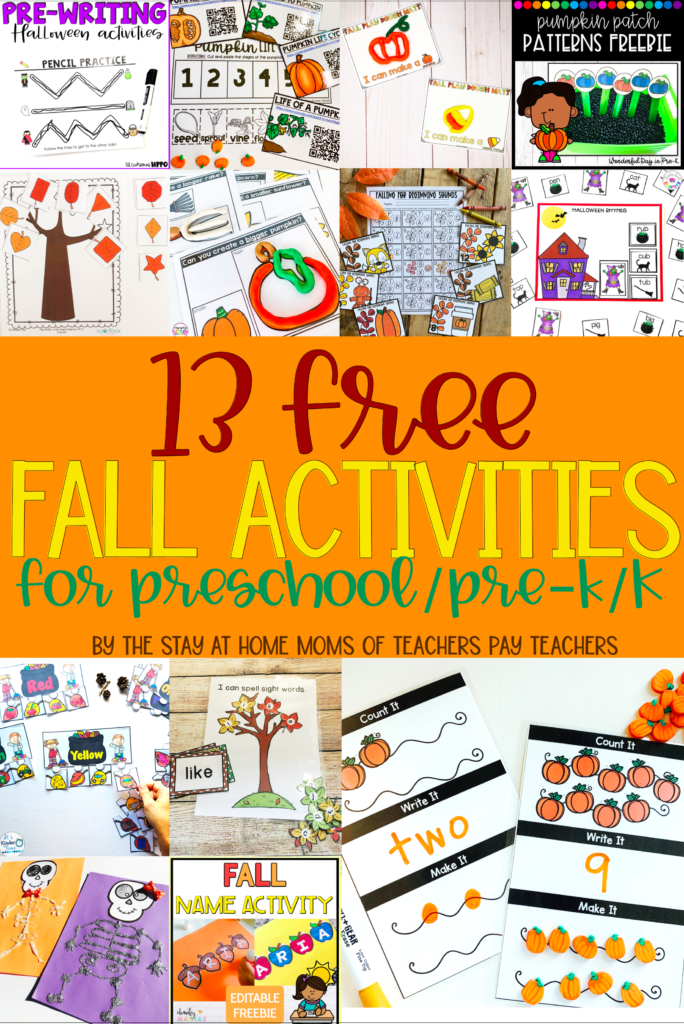
Ready for more fall freebies? Just click the links below to grab these fun resources from some of my teacher-author friends!
Fall Beginning and Ending Sounds from @alleahmaree
Pumpkin Patch Patterns from @wonderful.day.in.prek
Fall Sight Word Activities from @livelaughilovekindergarten
Fall Name Activity from @iteachfromtheheart
Fall Alphabet Tracing Mats from@mrsblacksbees
Fall Shape Tree from @sandboxacademy.
Halloween Rhymes from @littles.love.literacy
Pre-Writing Halloween Activities from @thecurioushippo
Fall Play Dough Mats from @sweetforkindergarten
Fall Color Puzzles from @itskindertime
Count, Write, Make: Pumpkin Patch from @creatingharmonyinlife
Fall Measurement Play Dough Mats: @engaginglittles
Pumpkin Life Cycle from @thestayathometeacher


